
Loving the outcome. It is not perfect but if you are looking for perfection this is not your source for wood. I feel like I am living in a cabin. The room makes me feel cozy and warm. I still need to work on it (only the bottom row left) and also paint the remaining walls white.
Here are a few pictures of the finished wall;

View of the bedside table. Love the natural look; grays, nails, texture and patina. I am also proud of myself - I did half of the cutting and nailing. It was fun especially using the nail gun:)
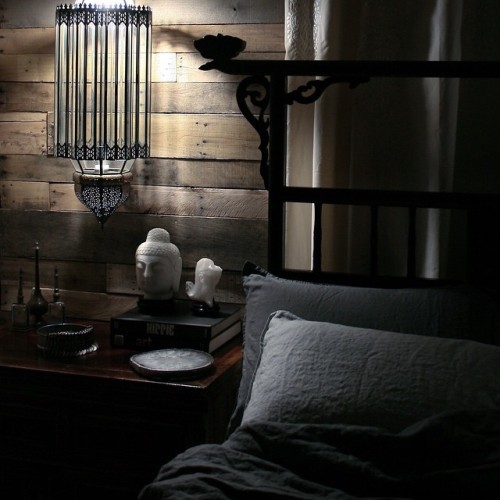
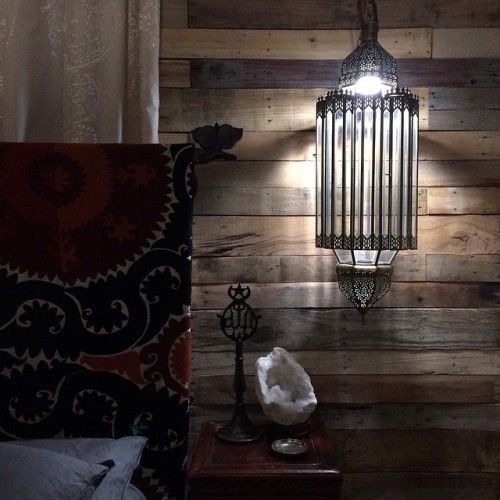
Photos of both sides of the bed. Night time gives the best view.
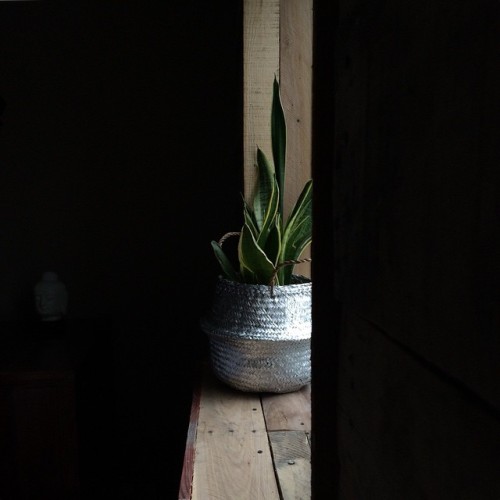
We even framed the window with pallet wood and the result made me surprisingly happy. We made the narrow window ledge larger so it would hold bigger plants.
If you are interested in how to make one there are really good articles about it on the internet. I read some of them before I started but I also put my own twist to it. Before nailing the pallet wood on the wall, my husband put up vertical 1X3's. This made a space between the wall and pallet wood so I could hide electric cords behind the wood and also I did not want to damage the existing gold leafed design. The best trick I learned from others was to paint the wall a darker color. Because the wood panels are not even and it shows through the gaps. My wall was already dark so I just painted the vertical 1X3's.


The photo is not very clear but I hope you get the idea how the 1X3's and pallet wood are arranged. I started from one end and went the whole way across then started from that end and did the next row down. I also tried to evenly mix light and dark colored wood.

The left photo shows the hole for the electric cord. I didn't really need the hole for my lanterns but if I decided to change the lighting in the future the wall is ready. The right photo shows how we solved the outlet. Since it was hiding under the bed we didn't pay much attention to the detail but still my hubby made a nice frame.

This is one of the HT (Heat Treated) logo that I looked for on pallets.
Well that's all folks, another diy project finished (okay, almost). I think I succeed in producing the cozy rustic feel that I wanted.
PS. For this diy project we used; a cordless nail gun, a hand saw (mostly), a zip saw, 2X3's, screws, a cordless drill, a plastic sheet for the mess and a lot of pallets.
Have a great weekend!xx
Handsome! And loved the tutorial on how to pick appropriate pallet wood. Thanks!
ReplyDeleteOh thank you so much! Love the word "handsome"! Happy you found something useful here. Hope your day is marvelous!!
Delete